Stop Guessing at the Trailhead
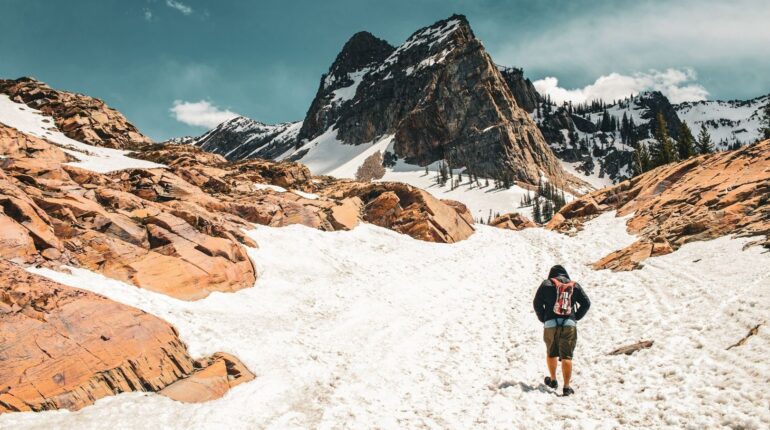
Shoulder season in Colorado can turn a simple hike into a footwear puzzle. The parking area may be bone-dry, the first mile may be packed dirt, and the upper trail may finish in knee-deep snow. A south-facing slope can be slick with refrozen meltwater while a shaded north-facing forest still holds deep, loose powder. Conditions can change again on the descent.
That is why carrying both microspikes and snowshoes is not automatically the smart answer. Extra gear adds weight, takes space, and can tempt you to continue after conditions have already changed. High-altitude terrain is especially demanding because weather and surface conditions can shift quickly across a single ascent. Colorado”s varied elevation and mountain terrain are described in useful geographic context by this overview of Colorado. Use a simple rule: microspikes handle firm, consolidated snow and ice at modest angles; snowshoes take over when loose snow lets your foot sink beyond the ankle.
Reading the Surface from Packed Dirt to Sugary Fluff
Start by reading the trail, not the calendar. Shoulder-season dates tell you very little by themselves. A clear autumn morning can produce hard frost overnight, followed by soft slush in the afternoon. In spring, sun-baked south-facing slopes may melt during the day and refreeze into uneven ice after sunset. North-facing timber receives less solar energy, so it can preserve unconsolidated snow long after exposed terrain has cleared.
Snow density matters more than its color. Early in the morning, a well-traveled trail may support your full weight. Microspike points can bite into that firm surface and give you reliable grip. By midafternoon, the same track may become wet and weak. The top layer may look shallow, but your boot can punch through into softer snow below. That is when traction begins to solve the wrong problem. The issue is no longer slipping. It is lack of support.
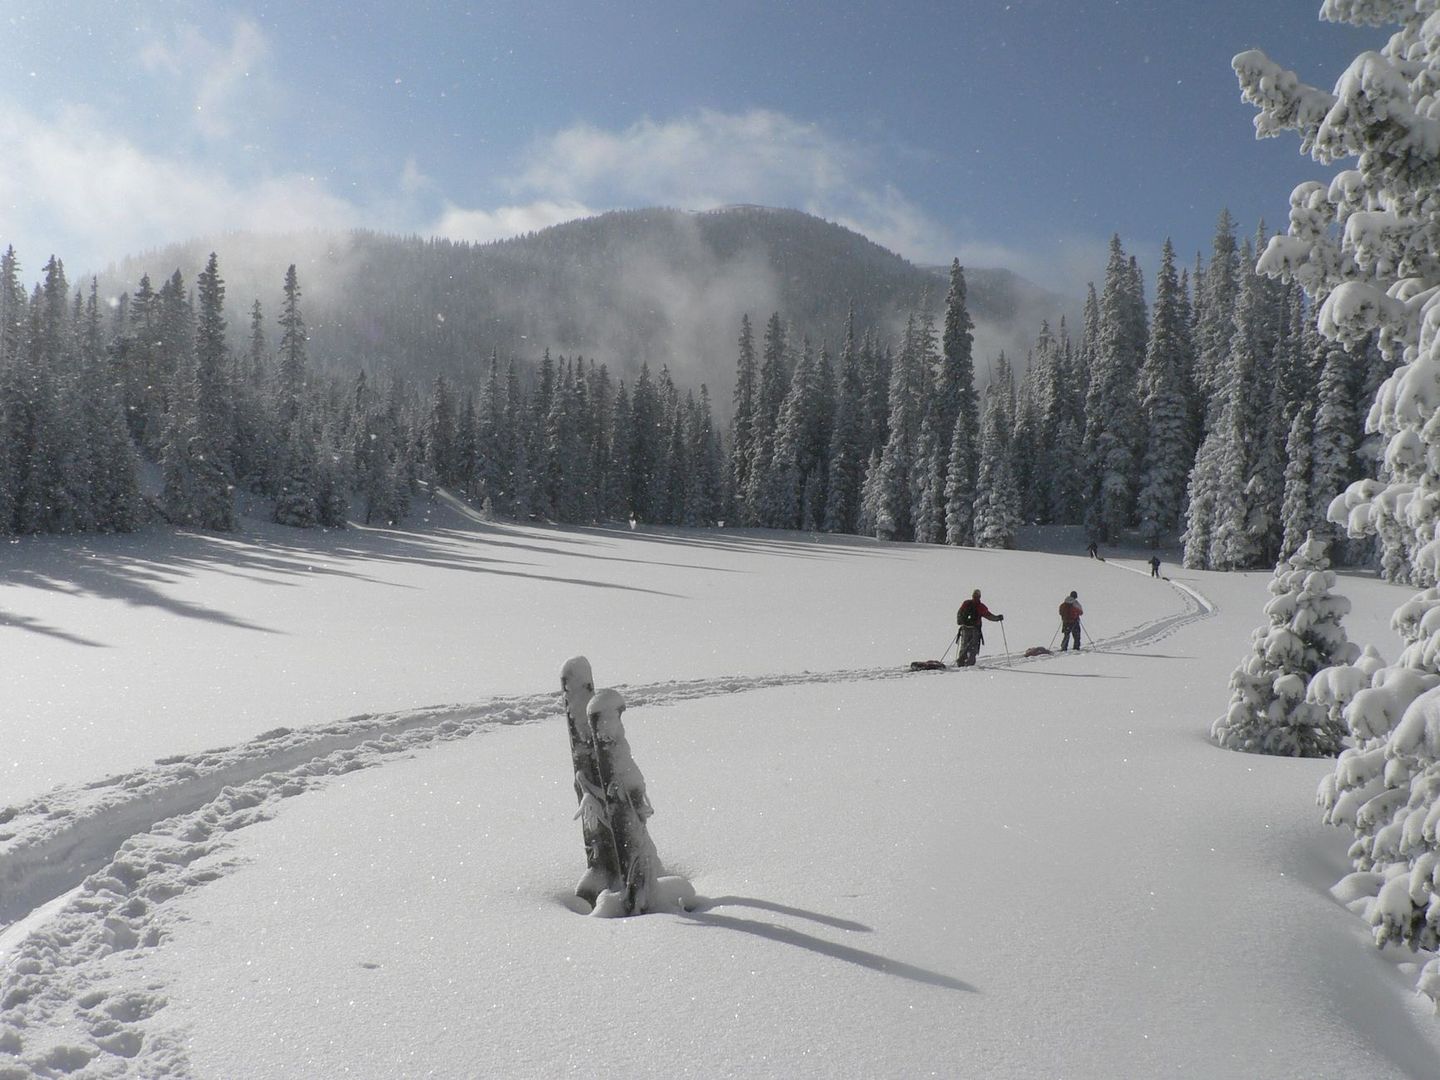
Watch for these signs that spikes are no longer enough:
- Your foot sinks more than about six inches each step.
- You repeatedly break through the center of the bootpack instead of staying on its surface.
- The trail edge collapses under your weight, forcing a wide and unstable stride.
- Your knees rise unusually high as you pull each leg from the snow.
- Existing tracks are deep, irregular holes rather than a firm, continuous path.
- Your pace drops sharply because every step requires a deliberate extraction.
Rocky Mountain National Park”s official trail conditions report warns that conditions can change rapidly and can differ from the report by the time you begin hiking. It recommends conservative planning, navigation tools, suitable seasonal clothing, the Ten Essentials, and a willingness to turn around. The park also notes that snow and ice may persist at higher elevations even when lower trails are clear. Check the current Rocky Mountain National Park trail conditions before leaving home, but treat the report as a starting point, not a guarantee.
Microspikes Versus Snowshoes At A Glance
Microspikes and snowshoes are built for different failures. Microspikes add metal teeth and flexible traction to your existing boots. They are compact, relatively light, and effective on icy patches, packed snow, and established bootpacks. Their teeth help prevent sliding, but they do not create meaningful flotation. If the snow cannot support your boot, sharper teeth will not fix the problem.
Snowshoes spread your weight across a larger surface area. That reduces sinking in powder and helps preserve an established track when the surface becomes soft. The trade-off is more weight, more bulk, and more effort on steep or brushy terrain. Snowshoes also need appropriate bindings and traction under the deck. They are not a substitute for crampons on technical ice or steep mountaineering terrain.
| Feature | Microspikes | Snowshoes |
|---|---|---|
| Best surface | Firm snow, ice, and packed trails | Loose, deep, or unconsolidated snow |
| Main function | Grip and slip prevention | Flotation and improved support |
| Pack volume | Small and easy to stow | Large and often awkward to carry |
| Mechanical limit | Cannot prevent postholing | Less efficient on bare ground and narrow technical terrain |
| Climbing trade-off | Low added weight | More weight, but less sinking in soft snow |
The right choice depends on total carried load, not just body weight. Boots, clothing, water, food, and a full pack all press into the snow. A larger snowshoe may be appropriate for fresh powder or a heavy load, while a smaller and more maneuverable model can work better on consolidated snow or technical mountain terrain. Follow the manufacturer”s sizing chart and account for your real trail load. A snowshoe that is too small may sink excessively, while an oversized model can become cumbersome on switchbacks.
The Shin Rule and Postholing Red Lines
Use the six-inch sink test as a practical threshold. If your boot repeatedly drops more than roughly six inches into soft snow, switch to snowshoes if you have them, or turn around if you do not. Do not wait until the snow reaches your shin or knee. The first deep break-through is already a warning that the surface cannot support your current setup.
Continuous postholing wastes energy and places unusual stress on your joints. Each step requires lifting a leg from a hole, clearing the snow, and searching for a stable landing. That motion can irritate the knees, overload the hip flexors, and strain the hamstrings. It also creates a rough, dangerous track for everyone behind you. A deep boot hole can freeze into a hard-edged trap, and an uneven series of holes can make a descent especially awkward.
Track etiquette matters. If a packed winter route is firm enough for snowshoes or traction devices, stay in the established track rather than walking beside it and widening the corridor. If conditions are too soft to support boots, do not keep punching holes simply to maintain a goal. Move onto snowshoes, wait for firmer conditions, or turn back. The National Park Service”s winter recreation guidance for Rocky Mountain National Park is a useful reference for planning and responsible winter travel. Check current park guidance before your trip because local hazards, closures, and conditions can change.
- Stay on the established track when it is firm and safe.
- Avoid walking directly beside a fragile bootpack in soft snow.
- Give faster travelers room without stepping into unstable snow.
- Turn around before fatigue turns a minor postholing problem into an injury.
- Carry navigation and emergency essentials even on familiar routes.
A Fast Four Step Trailhead Checklist
Do this gear check before you start climbing. The trailhead is the last easy place to make a calm decision. Once you are above treeline or committed to a steep drainage, changing footwear may be inconvenient, cold, or unsafe.
- Check the freeze-thaw pattern. Look at recent overnight lows, daytime temperatures, and the expected summit temperature around your turnaround time. A hard morning surface can soften quickly when direct sun reaches it. If the day includes a strong warm-up, expect the return trip to be softer than the approach.
- Inspect the opening track. Step onto the bootpack and test it with your full weight. Is it firm across the tread, or does your foot break through? Look at traffic levels as well. A busy route may have a consolidated center, while a lightly traveled trail may hold deeper, weaker snow only a few yards away.
- Measure your actual load. Include water, layers, food, camera equipment, and emergency gear. More load means more pressure on each step and greater demand for flotation. Select snowshoe size from the manufacturer”s total-load guidance, then adjust for powder, packed snow, steepness, and maneuverability.
- Commit to the appropriate setup. Use microspikes when the surface is firm and the main risk is slipping. Use snowshoes when sinking exceeds the six-inch threshold or when the trail is consistently soft. Avoid hauling both systems up a steep climb unless conditions genuinely justify the extra weight.
There is one important refinement. Do not confuse microspikes with mountaineering crampons. Microspikes suit ordinary icy trails and packed snow. Steep, hard ice, exposed terrain, and technical climbing may require crampons, an ice axe, specialized skills, and a different risk assessment altogether. If the route has serious avalanche exposure, consult current avalanche information and take appropriate training rather than relying on footwear alone.
Make the decision based on what the trail is doing now and what it is likely to do later. If the first mile is dry but the route gains substantial elevation, keep the relevant gear accessible rather than buried beneath your layers. If conditions become unexpectedly soft, turn around early. A completed route is never worth damaged knees, a ruined track, or a difficult retreat after dark.
Lock In Your Gear and Hit the Ridge Confidently
The decision is straightforward once you focus on support. Microspikes are for consolidated hardpack, refrozen snow, icy patches, and low-angle terrain where your boot remains on the surface. Snowshoes are for loose or deep snow where your foot sinks beyond the ankle or repeatedly breaks through the track. When flotation is the problem, traction alone is not enough.
Trust your trail observations more than trailhead panic. Test the surface, watch the freeze-thaw pattern, account for your total load, and use the six-inch rule before fatigue clouds your judgment. Make the call early, protect the track, and protect your joints. Smart gear choices create better trail time in Colorado, with less fuss on the climb and a safer return to home base.