Why Rocky Mountain Trail Grit Destroys Your Pack
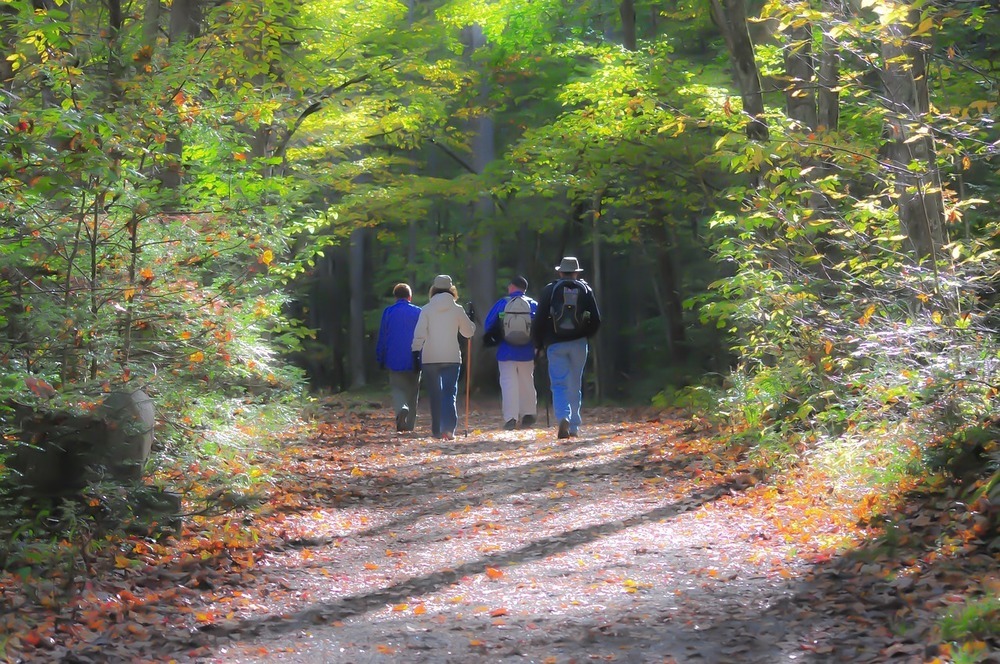
Rocky Mountain trails are hard on equipment. Decomposed granite works into zipper teeth, seam folds, pocket corners, and the fine weave of suspension mesh. Every time you set the pack down, abrasive particles find another route inside. Add dust from dry switchbacks, mud from afternoon storms, and sunscreen from long alpine days, and a quick wipe-down no longer does the job. Your pack needs a deliberate reset back home. A reliable backpack zipper care routine is part of that reset, but the fabric, foam, and frame need attention too.
Sweat creates a second problem. Body salts dry inside shoulder harnesses, hip belts, and lumbar mesh. Once those crystals combine with trail grit, the suspension can act like sandpaper against your shirt and against itself. The fix is not a violent washing machine cycle or a capful of ordinary laundry detergent. Household detergents can strip durable water repellent finishes, leave residue in technical fibers, and contribute to damage in coatings, seam tape, and foam. Use a low-impact cleaning process instead. The goal is simple: remove grit mechanically, dissolve sweat gradually, neutralize organic odor, and protect the pack while it dries.
Essential Pre-Wash Teardown and Dry Prep
Start with a complete gear check. Empty every main compartment, zippered pocket, hidden stash sleeve, trekking-pole loop, and hydration reservoir compartment. Check beneath removable dividers and inside the lid. A single energy-bar wrapper can attract pests during storage, while a forgotten water bladder can seed a serious mildew problem. If the pack has a detachable rain cover, remove it. Open every zipper before cleaning so trapped grit has a way out.
Follow the manufacturer”s care instructions before removing hardware. If the design allows it, detach internal aluminum stays, rigid composite framesheets, hip belt pockets, and other removable components. Photograph the frame arrangement first if the installation is not obvious. Then turn the empty pack upside down and shake it firmly outdoors. Do not skip this step. Dry granite gravel is easier to remove before it becomes wet paste.
- Remove the hydration reservoir and inspect its hose, bite valve, and cap.
- Open all pockets, loosen compression straps, and release buckles.
- Shake the pack upside down over a clean surface.
- Vacuum pocket corners, crevices, seam folds, and mesh webbing with a crevice attachment.
- Use low suction around delicate mesh, elastic cords, and loose bartack threads.
A vacuum is especially useful around hip belt wings and shoulder harness edges, where particles hide beneath binding tape. Avoid scraping at the fabric with a metal tool. A soft detailing brush can lift dust from stitching without cutting fibers. If the pack is heavily soiled, complete this dry preparation outside or in a garage. You do not want a layer of trail grit rinsed into a household drain or spread across the laundry area.
The Deep Soak Protocol for Sweat-Soaked Suspension
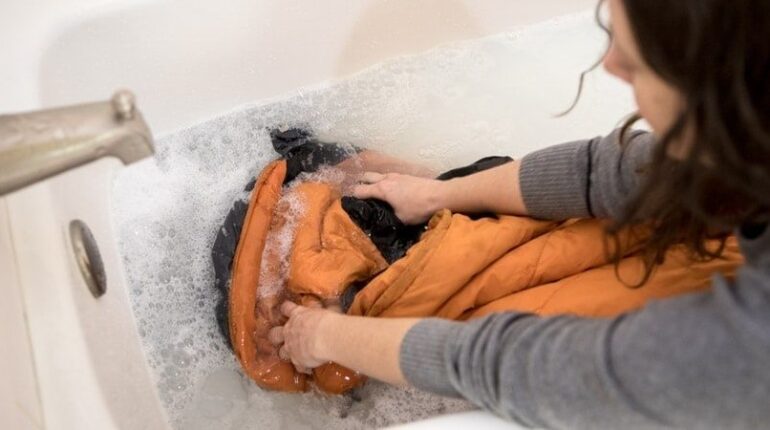
Use a bathtub, utility sink, or large plastic tub. Fill it with lukewarm water, not hot water. A tub gives the pack room to move without twisting the harness, and it avoids the aggressive tumbling, friction, and extraction forces of a washing machine. Washing-machine agitation can stress zippers, buckles, seam tape, and foam panels. The same gentle approach recommended for delicate outdoor fabrics, including the hand-washing guidance for tents, makes sense for a technical pack.
Choose a non-detergent technical cleanser, a pack-safe cleaner, or a very mild soap formulated for outdoor equipment. Do not reach automatically for scented laundry soap, fabric softener, bleach, or degreaser. These products can leave films and may interfere with coatings. Read the pack maker”s instructions, dilute the cleaner as directed, and spot-test an inconspicuous area first. The pack may look rugged, but its foam, coatings, and adhesives are specialized materials.
- Submerge the empty pack in lukewarm cleaning solution and press it gently under the surface.
- Let the harness, hip belt, and lumbar pads soak long enough for salts to dissolve, usually 10 to 20 minutes unless the manufacturer specifies otherwise.
- Massage padded areas with your hands. Do not wring, twist, or crush closed-cell foam.
- Use a soft-bristled brush on visible sweat marks, mud, and face fabric, working with the weave rather than against it.
- Drain the tub, refill it with clean water, and rinse until the water runs clear and no cleaner remains.
Pay special attention to the suspension system. Shoulder straps and hip belts collect the most salt because they stay in contact with skin and clothing for hours. Press them slowly under the water, then release them so water moves through the mesh. Never kneel on the pack or compress it under a heavy object. Closed-cell foams resist water absorption, but repeated crushing can alter their shape and reduce comfort.
For stubborn mud, let the material soften before brushing. Scrubbing dry mud aggressively can grind grit deeper into the weave. Move in short strokes around seams and bar-tack stitching. Keep brushes away from thin stretch pockets unless you are using very light pressure. Rinse the hydration sleeve separately if possible. If odor remains after the first soak, do not simply add more soap. Move to targeted odor treatment after the pack has been thoroughly rinsed.
Banishing Granite Grit and Rescuing Sticking Zippers
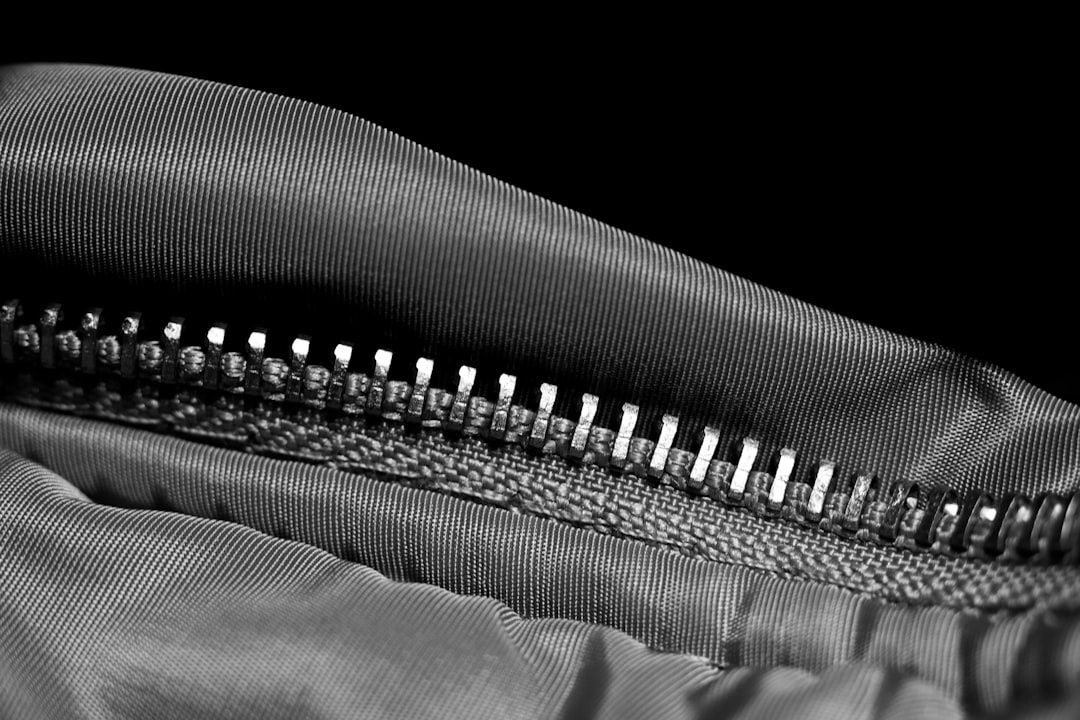
Silica-rich dust behaves like a microscopic grinding wheel. It lodges between zipper teeth and inside the slider, then abrades metal or molded plastic every time the zipper moves. A sticky zipper is not always a broken zipper. Often, the slider is simply carrying a load of debris. Start with a mechanical flush. Run clean water through the open zipper while working an old, soft toothbrush along both tracks. Brush from the closed end toward the opening so loosened grit can escape.
After the zipper dries, apply a very small amount of manufacturer-approved lubricant. Wax-based products or a suitable PTFE zipper lubricant are useful when the pack maker permits them. Avoid heavy oils and silicone-free assumptions without checking the product label. Some outdoor guidance recommends silicone lubricant or beeswax, but compatibility varies by zipper and surrounding fabric. Apply lubricant to the track, not across the whole pack, then cycle the zipper slowly several times. Do not force an overstuffed pocket closed. Excess tension can bend the slider or separate the teeth.
| Symptom | Likely Cause | Next Check |
|---|---|---|
| Rough movement that improves after rinsing | Grit jam | Flush, brush, rinse, and lubricate lightly |
| Slider moves but teeth separate behind it | Worn or bent slider | Inspect slider alignment and seek repair |
| One section will not engage | Bent coil or damaged tooth | Do not force it; inspect under good light |
| Fabric catches in the slider | Misalignment or loose tape | Back the slider out gently and check the seam |
Neutralizing Deep Mildew and Mountain Funk
Dried sweat is mostly a residue problem. It leaves salts, skin oils, and odor compounds that can often be removed with soaking and rinsing. Mildew is different. It indicates active or recent fungal growth supported by moisture and organic material such as skin cells and dust. If a pack was stored damp after a storm, the smell may return quickly after an ordinary wash. That is a sign to treat the affected area, not to keep adding stronger soap.
Use an enzyme-based odor eliminator or a purpose-made gear treatment such as a MiraZyme-type rinse, following the product directions exactly. Apply it to the hydration sleeve, lumbar pad, and shoulder harness only after ordinary soil has been removed. Spot-test first, rinse thoroughly, and never mix cleaners. Bleach and strong vinegar solutions are poor default choices for technical packs. They can discolor fabric, attack polyurethane backing, and weaken seam tape or adhesives. If the manufacturer specifies a different treatment, follow that instruction instead.
- Target odor at the source, especially damp mesh and lumbar padding.
- Keep enzyme treatments within their stated concentration and contact time.
- Rinse repeatedly so biological cleaner does not remain in the foam or webbing.
- Inspect for black, green, or spreading spots that may require professional gear repair.
- Dry the pack completely before judging whether the odor is gone.
Do not mask deep mildew with fragrance. Sensitive hikers may react to mold contamination, and a scented product does not remove the underlying growth. If contamination is extensive, the pack has been wet for a long period, or the coating is peeling, contact the manufacturer or a technical gear repair service. Replace a hydration bladder that remains contaminated after proper cleaning. The bladder is easier and safer to replace than a pack”s suspension system.
Drying and Restoring Technical DWR Repellency
Drying is where many good cleaning jobs fail. Hang the pack indoors or in a shaded, well-ventilated breeze. Open every compartment and leave zippers partly open so air reaches the lining. Keep the pack away from direct sun, especially at high elevation where UV exposure is intense. Do not use a clothes dryer, radiator, heat gun, or camp stove. Excess heat can distort foam, loosen adhesives, and damage waterproof coatings. Outdoor equipment guidance consistently emphasizes complete drying before storage because trapped moisture promotes mold and coating breakdown.
- Hang the pack upside down briefly to drain, then reposition it upright for airflow.
- Open all compartments and separate folded fabric by hand.
- Press, rather than twist, wet foam areas with clean towels.
- Allow the pack to dry until the harness and lumbar pads are dry at their thickest points.
- Reinstall stays, framesheets, and removable hardware only after the pack is fully dry.
Test the factory Durable Water Repellent finish once the outer fabric is dry. Sprinkle or spray a small amount of clean water on the shell. If droplets bead and roll away, the DWR is still functioning. If water darkens the fabric and spreads into it, the finish may be depleted. Wetting the fabric does not automatically mean the waterproof membrane or inner coating has failed. DWR mainly helps water run off and keeps the face fabric from becoming saturated.
If reproofing is needed, use a pack-compatible spray-on technical treatment and follow its label. Many products are applied to a clean, slightly damp outer shell, while others require a dry surface. Do not guess. Apply evenly, wipe away excess where directed, and keep treatment off buckles, foam interiors, and areas that need friction. After drying, test again. Refit the frame carefully, ensuring stays sit in their original channels and do not press against fabric or wiring.
Set Your Pack Up for the Next Alpine Season
A full tub soak belongs at the end of a dirty season, after heavy sweat, mud, or mildew exposure. A quick spot clean is enough after a routine day if the pack is emptied, shaken, and aired promptly. Small maintenance jobs prevent grit from becoming a zipper failure and stop sweat salts from becoming permanent odor.
- After each trip: Empty the pack, shake out grit, wipe muddy areas, and air the compartments.
- After wet trips: Open every pocket and dry the pack completely before storage.
- Every few trips: Inspect and clean zippers, then lubricate lightly if needed.
- End of season: Complete the teardown, deep soak, rinse, odor treatment, and slow dry.
- Before storage: Check stitching, buckles, load lifters, stays, and compression straps.
Store the clean, dry pack in a cool, moisture-free closet. Keep it unbuckled and uncompressed so foam can retain its shape. Leave compartments loose and partly open rather than stuffing the pack into a tight storage bin. Avoid garages with large temperature swings, damp basements, and sunny gear rooms. Before the next trailhead, pull on every load-lifter strap and inspect each bar tack. A five-minute gear check can catch a loose stitch before it becomes a failure above tree line. Clean grit, dry foam, and sound stitching mean better trail time with no fuss.